
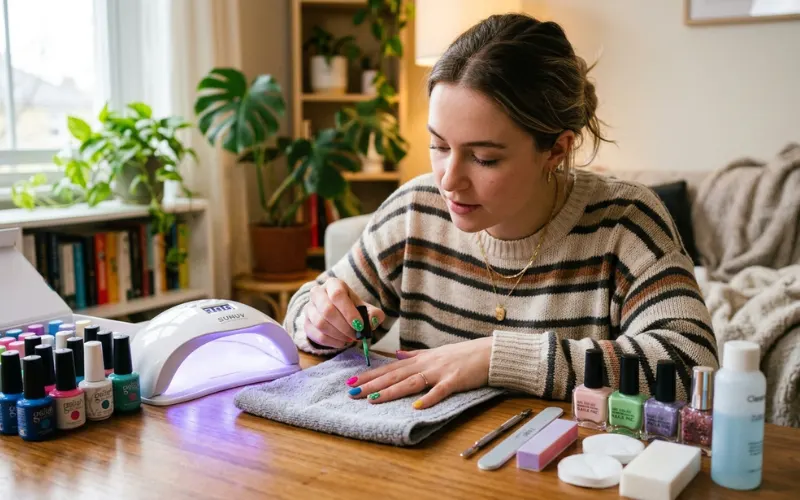
If you want a straight answer: the best at-home gel nail kit overall is the Olive & June Gel Mani System ($95). It cures in two minutes per layer, holds for up to 21 days, and is forgiving enough that most people get it right on their first go. On a tighter budget, the Gellen Gel Polish Kit ($39.99) comes with 12 shades and a lamp in a single box. And if you would rather avoid a UV lamp altogether, the Dazzle Dry 4-Step System ($100) outlasted every LED kit in my testing without needing any light to cure.
Over several months, I tested seven popular gel nail kits-at home and with clients at Beauty Lies Truth Salon in London. I tracked real-world wear time, put the ease of application through its paces, and went through every ingredient label carefully. Nothing in this guide was gifted in exchange for a positive review.
Here is everything I found.
What Is Inside This Guide
- How I tested each kit and what I looked for
- All 7 kits compared side by side at a glance
- My strongest recommendation: the one kit to start with
- Six more kits reviewed in full, with honest results
- LED vs. no-UV gel polish: what the difference actually means
- Is at-home gel worth it, and is it safe for your nails?
- Tips from the salon for longer-lasting at-home gel
How I Tested Each Kit
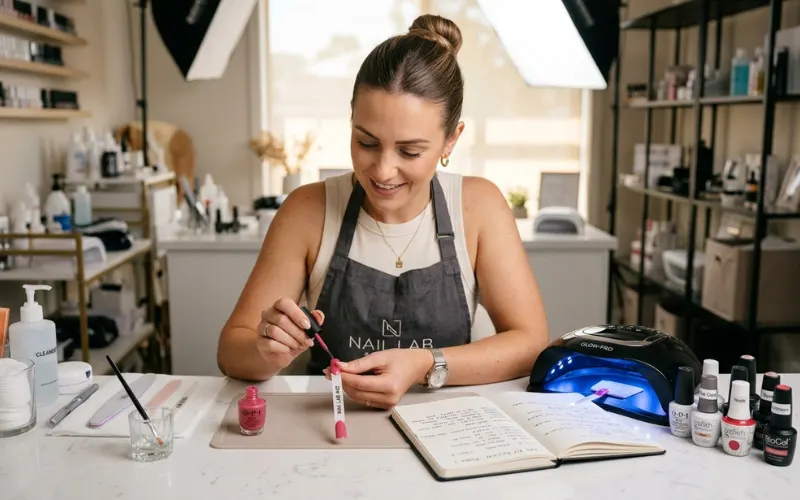
Testing went well beyond applying polish and waiting to see what happened. Each kit was worn for 7 to 14 days under genuine daily conditions-cooking, washing up, typing, and all the other things that really put nails through their paces.
My criteria for every kit:
- Ease of use: Can someone with no nail tech background apply this without making a mess?
- Curing performance: Does the lamp fully cure each layer within the stated time?
- Wear and longevity: How many days before lifting, chipping, or peeling starts?
- Formula safety: Are ingredients like HEMA, TPO, or formaldehyde present? Is the brand transparent about what goes into the bottle?
- Removal process: Does it require heavy acetone soaking, or is a gentler option available?
- Overall value: Does the price actually reflect what you get in the box?
At a Glance: Best At-Home Gel Nail Kits Compared
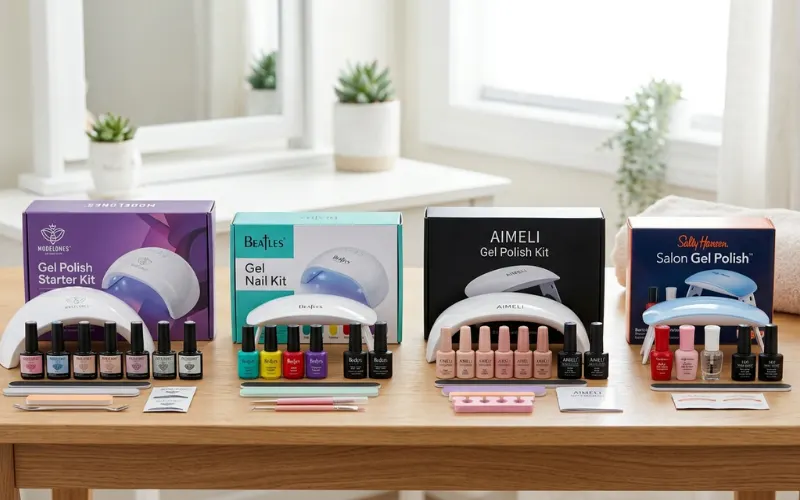
| Kit | Price | Lamp Included | Lasts Up To | Best For |
| Olive & June Gel Mani System | $95 | Yes (15W LED) | 21 days | Best overall |
| Sally Hansen Salon Gel Starter Kit | ~$59.99 | Yes (LED) | 14 days | Beginners |
| Gellen Gel Polish Kit with Lamp | $39.99 | Yes (UV/LED) | 21 days | Variety and value |
| Manucurist Green Flash LED Kit | $134 | Yes (24W LED) | 12 to 14 days | Clean formulas |
| Kiara Sky Gelly Tips Starter Kit | ~$79 | Yes (flash cure) | 21+ days | Nail extensions |
| Dazzle Dry 4-Step System | $100 | No (air-dries) | 10 to 14 days | No-UV preference |
| Beetles Mini Mani Studio Kit | $29.97 | Yes (UV) | Up to 21 days | Tightest budget |
My Strongest Recommendation: Start Here
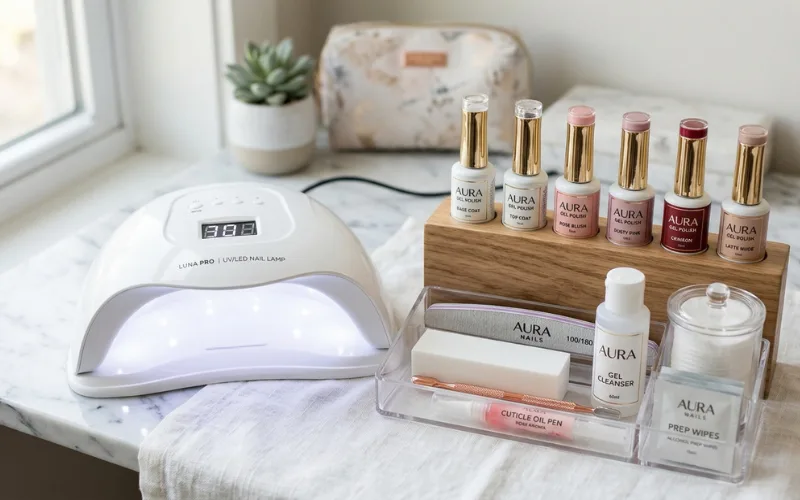
Of every kit I tested, one stood clearly above the rest for everyday use. It is beginner-friendly, gentle on nails, and genuinely long-lasting. If you only have time to read about one product on this page, make it this one.
Best Overall: Olive and June Gel Mani System | $95
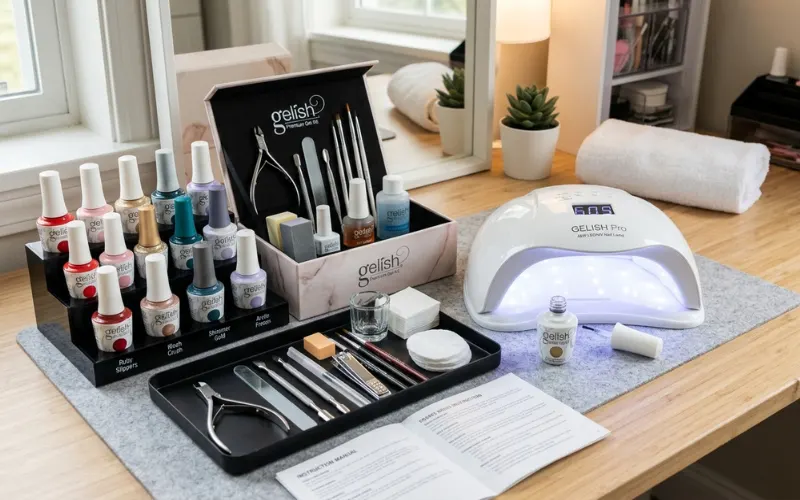
This is the kit I recommend most. Olive and June built the Gel Mani System around a genuinely sensible idea: everything you need for a salon-quality gel manicure inside a box that also serves as your workspace. The folding lid keeps things tidy, and the whole setup feels more considered than most at-home kits out there.
The peel-off base coat is what really sets it apart.
Rather than soaking nails in acetone to break the gel down, you simply peel the whole thing away cleanly from the base. For anyone doing gel at home every two to three weeks, that alone is a meaningful win for nail health.
What is in the box:
- 15W 5-finger LED lamp with USB cord
- Peel-off base coat and gel polish base coat
- Gel top coat
- Cuticle pusher, nail file, and nail buffer
- Cuticle serum and cuticle remover
- Clean-up brush and acetone soaking pot
- Gel colour polish sold separately, from $12 per shade
What I liked:
- 2-minute cure time per layer keeps the process fast without ever feeling rushed
- Peel-off base coat makes removal genuinely painless, with no acetone soaking required
- HEMA-free formula significantly reduces the risk of skin sensitisation with regular use
- The folding box creates a contained workspace a surprisingly useful detail in practice
What could be better:
- Gel colours are not included, so the real starting cost runs higher than $95
- Polish applies slightly thick, which gives that bubbly salon-gel finish some people dislike
- Only 24 gel shades are available, while competitors offer 90 or more
- Some shades in the range still contain TPO, so checking individual bottles before purchase is worth doing
Verdict: The most well-rounded kit on this list. It handles prep, application, and removal without asking you to cut corners on any of them.
The Full Line-Up: Six More Kits Reviewed
These are the other six kits I tested alongside Olive and June. Each has a clear reason to exist some beat the top pick on price, others stand out on formula safety, and one does something no standard gel kit can: build actual nail extensions. Here is how each one performed.
Best for Beginners: Sally Hansen Salon Gel Polish Starter Kit | ~$59.99
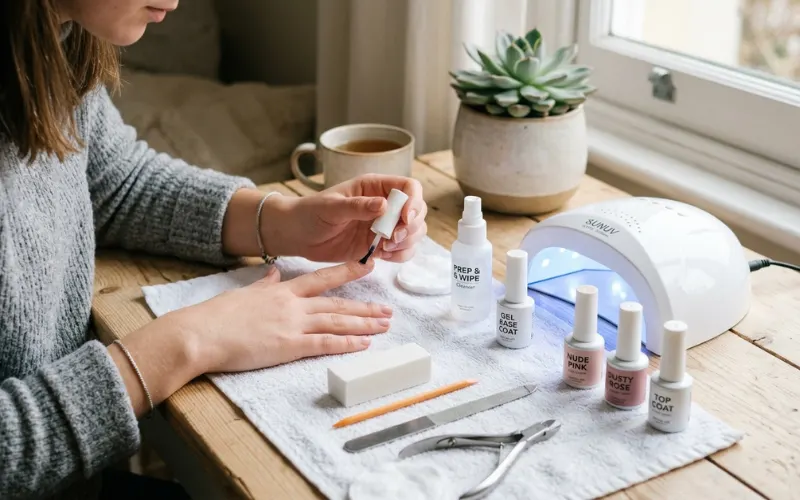
Sally Hansen built this kit around simplicity, and the experience reflects that clearly. Three steps base coat, colour, top coat. The LED lamp cures each layer in just 30 seconds, making the whole process feel far less daunting than longer-cure systems. It is also widely stocked at pharmacies, Target, and Boots, so restocking supplies later is straightforward.
That said, a few things held it back. The wipe-off top coat which requires removing a sticky residue layer after curing is an extra step most professional nail techs have already moved away from. The included acetone is also weaker than standard, which noticeably slows removal.
What is in the box:
- LED lamp
- Gel base coat and wipe-off gel top coat
- One gel colour shade
- Cleanser wipe pads
- Nail file
What I liked:
- 30-second cure time per layer is the fastest of any kit I tested
- Entry price is fair for someone who simply wants to try gel at home for the first time
- The 3-step system leaves very little room for application mistakes
- Widely available enough that replacement supplies are easy to find locally
What could be better:
- Wipe-off top coat adds an unnecessary step and is more prone to peeling over time
- Included acetone is diluted, so removal takes noticeably longer than with standard remover
- Base coat and top coat bottles are only 4ml each and run out faster than expected
- No cuticle oil, cotton pads, or foil removal wraps are included in the kit
Verdict: A solid entry point for gel at home. Do not expect it to outperform pricier systems, but as a way to learn the process without overspending, it does the job.
Best Value: Gellen Gel Polish Kit with UV/LED Lamp | $39.99
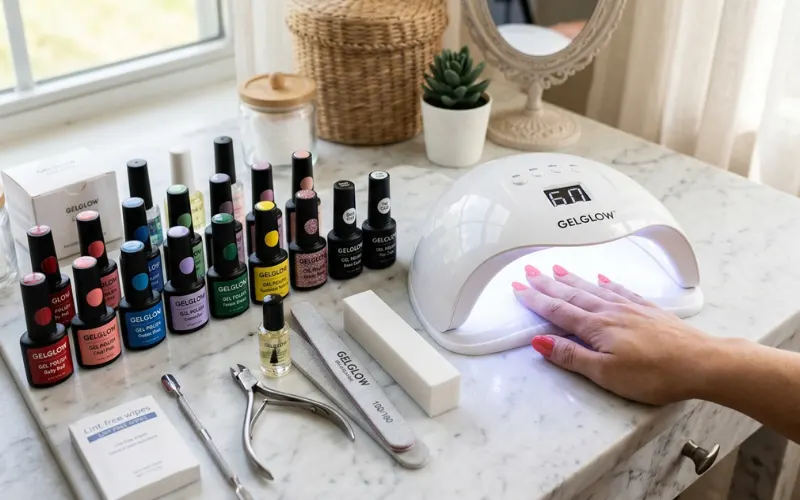
Under $40 for a lamp, base coat, top coat, 12 gel shades, nail art tools, and embellishments nothing else on this list comes close to that. The Gellen kit does not reinvent gel manicures, but it delivers exactly what it promises without any unnecessary complications.
The UV/LED dual lamp works with most gel brands, not just Gellen’s own range, which makes the whole kit more flexible than it first appears. It is also the one I would reach for as a gift, because it genuinely looks generous to open.
What is in the box:
- UV/LED dual lamp
- Gel base coat and top coat
- 12 gel polish shades
- Nail file, buffer, and cuticle stick
- Nail art embellishment tools
What I liked:
- 12 colours in one kit means no extra shopping for shades straight out of the box
- Dual UV/LED lamp is compatible with most gel brands, not just Gellen polish
- Nail art embellishments included at this price point is a genuine bonus
- Makes an impressive gift for someone curious about trying gel nails at home
What could be better:
- Lower lamp wattage can leave gel under-cured when coats are applied too thickly
- Some shades are less pigmented and may need three coats for full, even colour
- Formula transparency is limited, and ingredient lists are not always easy to track down
- Not the right choice for anyone specifically after a HEMA-free or clean formula
Verdict: The best value kit on this list. Perfect for a first attempt or as a gift, and a solid foundation for building technique before upgrading.
Best Non-Toxic Formula: Manucurist Green Flash LED Gel Kit | $134
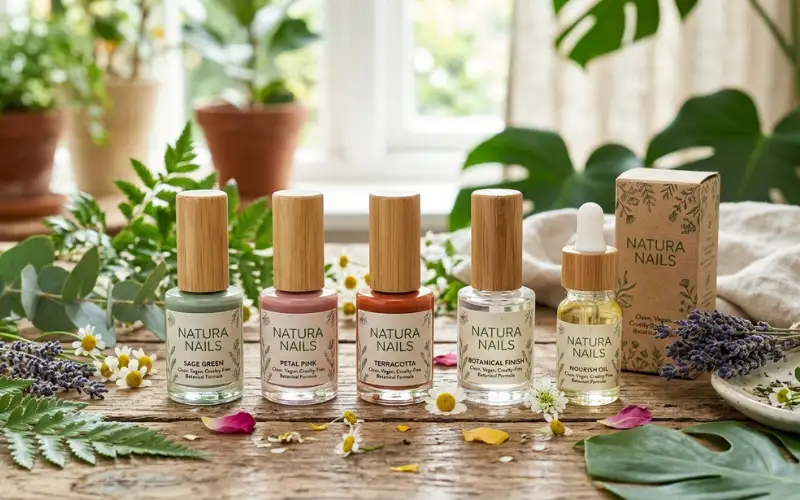
If ingredient safety is your main concern, Manucurist is one of the few brands making genuinely measurable progress. Their Green Flash kit uses bio-sourced, HEMA-free gel polish formulated to EU cosmetic safety standards. With the EU TPO ban in effect from September 2025, Manucurist already uses safer photoinitiator alternatives so there is no need to audit individual shades for compliance.
Performance, though, did not quite match the premium price in my testing. The brush quality was disappointing, the top coat felt thin, and real wear time landed closer to 10 to 12 days rather than the 14 days advertised.
What is in the box:
- 24W foldable LED lamp
- Gel base coat and gel top coat
- One gel colour (90+ shades available separately)
- Non-acetone remover
- Nail file and prep file
- Five removal finger clips
What I liked:
- HEMA-free and TPO-free formulas are among the cleanest in any gel kit currently available
- Non-acetone removal protects the nail plate without the need for heavy soaking
- The foldable 24W lamp stores flat, making it much easier to put away between uses
- 90+ gel shades in the range with regular new launches
What could be better:
- At $134, it is the most expensive kit here, and the wear time does not justify that gap
- Polish brushes split during application, making even coverage harder to achieve
- Nails can still feel slightly tacky after a full curing cycle, which is unexpected at 24W
- The non-acetone remover has a very strong added fragrance that caused headaches almost immediately
Verdict: Worth choosing if a genuinely clean formula is your priority. Go in knowing that the wear experience sits closer to a good regular polish than a true salon gel.
Best for Extensions: Kiara Sky Gelly Tips Starter Kit | ~$79
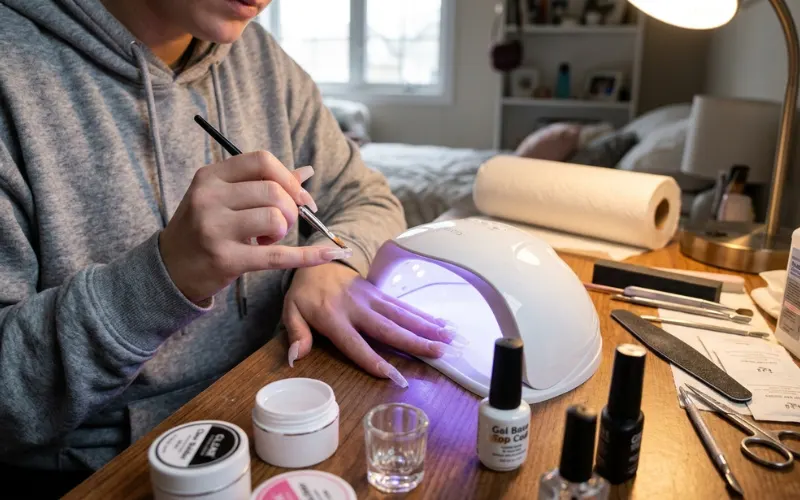
Most at-home gel kits are built purely around colour. The Kiara Sky Gelly Tips kit is about structure. It is designed specifically for full-cover gel tip extensions meaning you are adding real length and thickness, not just polish. If salon-length nails at home have ever been on your list, this is the place to start.
The tips bond far more securely than press-ons and hold considerably longer under daily wear. The flash cure lamp speeds things up across all ten nails. And because this kit was designed for home use rather than adapted from a professional system, the learning curve is gentler than similar products aimed at technicians.
What is in the box:
- Flash cure mini LED lamp
- Adhesive gel
- Full-cover gel tips in your chosen shape
- Nail file and prep tools
What I liked:
- Gel tips bond much more securely and last significantly longer than press-ons
- Flash cure lamp reduces per-nail curing time, making the process feel more manageable
- Tips come in a range that fits most different nail bed widths and shapes
- Designed for home use, making the technique more approachable than salon-grade alternatives
What could be better:
- Requires more precision and patience than a standard gel polish kit, especially at first
- Gel colour polish and a finishing top coat are both purchased separately
- Removal is more involved than peelable gel systems and should be done carefully
- The flash cure lamp is not powerful enough to double as a full gel system lamp
Verdict: The kit to choose if you want real nail length at home. Pair it with your preferred gel colour for the full look, and allow yourself extra time on the first application.
Best No-UV Option: Dazzle Dry 4-Step System | $100
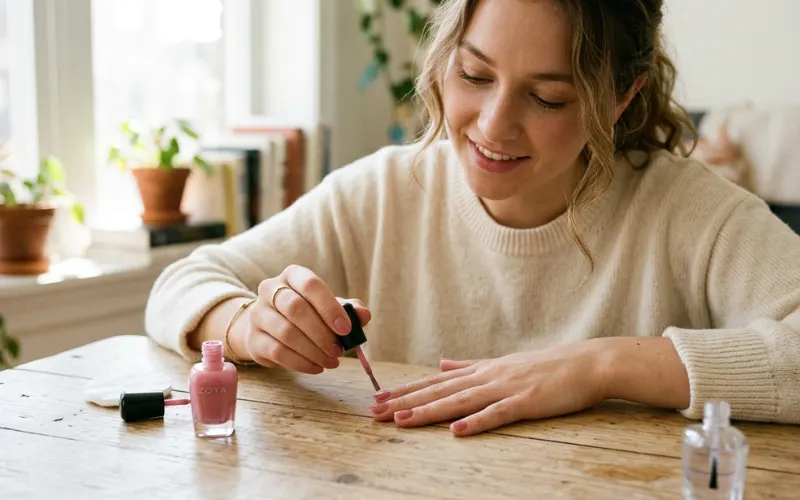
This one genuinely surprised me. Dazzle Dry uses no lamp at all. The formula hardens through a polymerisation process that activates with air no UV, no LED, no UVA exposure during your manicure. And in testing, it outlasted every LED kit on this list.
Technically, it is not a true gel. It does not cure under light and contains no photoinitiators. But it looks gel-like, wears like gel, and in some cases lasts longer than most gel kits claim to. One client of ours wore Dazzle Dry for five weeks before her next appointment. At Beauty Lies Truth Salon, it is now my first suggestion for anyone who wants something long-lasting to use between visits.
What is in the box:
- Nail Prep cleanser for the nail plate
- Base coat
- One nail colour
- Top coat
- Revive drops to reconstitute thickened polish
What I liked:
- No UV lamp means zero UVA radiation during application the safest option here
- No photoinitiators, plasticizers, or Big 10 toxins anywhere in the formula
- Dries fully in under 5 minutes and genuinely lasts 7 to 14 days, sometimes longer
- Works as an open system: any nail colour layered between Dazzle Dry base and top coat still holds
What could be better:
- The base coat needs warming in hot water before application for the best adhesion
- No prep tools or nail polish remover are included in the kit
- Does not deliver the same thick, high-gloss finish as a true LED gel system
- The wear feels slightly more flexible than rigid salon gel, which some people notice
Verdict: My personal favourite across all seven kits. If you are open to a gel-like formula rather than true gel polish, and nail health matters to you, this is where to start.
Best Budget Pick: Beetles Mini Mani Studio Kit | $29.97
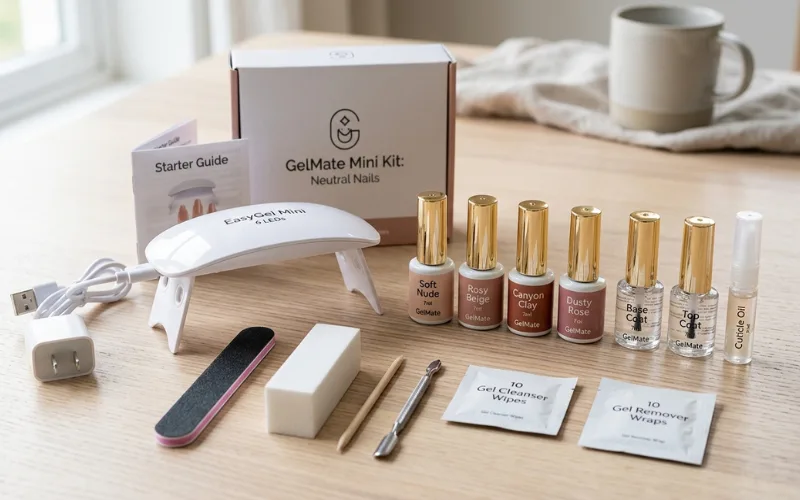
Under $30, the Beetles Mini Mani Studio delivers a complete, working gel setup. The 12 shades from the Cozy Elegance range are well chosen mostly neutral, wearable everyday tones rather than a random assortment. The compact lamp stores away easily. And for someone not yet certain whether at-home gel is for them, this is a low-risk way to find out.
What is in the box:
- UV gel lamp (compact size)
- 12 gel polish shades from the Cozy Elegance collection
- Gel base coat and top coat
- Basic nail prep tools
What I liked:
- Under $30 for a complete kit with lamp and 12 polishes is genuinely hard to beat
- Neutral shade selection is well edited and actually wearable, not just filler colours
- Compact lamp is significantly easier to store than the larger units in this comparison
- Low financial risk for someone testing whether at-home gel suits their routine
What could be better:
- Lower lamp wattage means cure times need to run a little longer to avoid tacky results
- Gel formula does not deliver the same depth of shine as premium brands in this comparison
- Packaging is very basic and the unboxing experience feels functional rather than enjoyable
- Thick coats will peel early applying thin layers is not optional with this kit
Verdict: A smart way to start. Learn the process here, then upgrade the lamp and formula once you know at-home gel is something you will keep doing.
LED vs. No-UV Gel Polish: What the Difference Actually Means
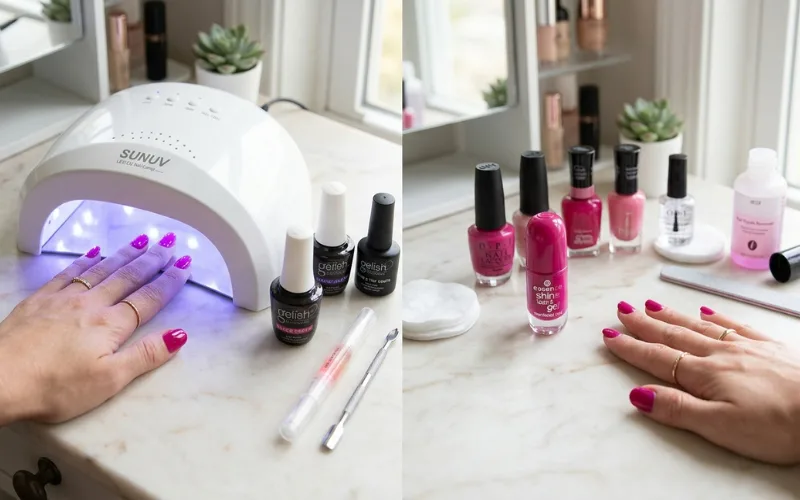
This comes up constantly, and the answer is simpler than the marketing makes it seem.
True gel polish always requires UV light to cure. Both LED lamps and traditional UV lamps emit UVA radiation.
The “LED” label refers only to the bulb type, not the kind of rays produced so when brands market their
products with an LED lamp rather than a “UV lamp,” it is technically accurate but somewhat misleading. Both work by the same mechanism.
That means UVA exposure happens regardless of whether your lamp says LED or UV on the box. If you use a gel lamp regularly, apply a broad-spectrum SPF to the backs of your hands before curing. UV-protective fingerless gloves are another practical option worth keeping near your kit.
On wear time: LED-cured gel generally lasts longer. A well-applied Olive and June manicure can hold for 14 to 21 days. No-UV gel-like formulas such as Dazzle Dry typically reach 7 to 14 days, though thorough prep can push that further.
The choice really comes down to what you prioritise. Longevity favours LED. Nail health and zero UV exposure point toward a no-lamp option.
Is Doing Your Own Gel Nails at Home Actually Worth It?
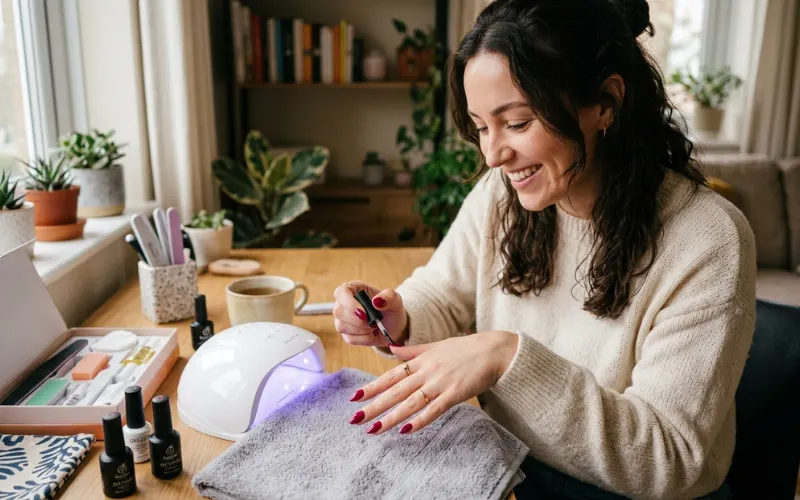
Yes with one condition. Technique matters more than the kit you buy.
Most at-home gel failures are not product failures. They come from skipped steps. Skipping the prep wipe leaves oils on the nail plate, and gel simply will not bond to it properly. Applying polish too close to the cuticle causes peeling from that edge within a few days. Not capping the free edge leads to tip wear within 48 hours.
Once those steps become habit, the whole process gets genuinely easy. And the savings are real. A professional gel manicure at our salon in London costs between £45 and £65. Most kits on this list are under £100 and give you dozens of full applications. The investment pays itself back quickly.
One thing I always tell clients before they try gel at home: your first application will not look like your fifth. Give yourself a few rounds to build the technique before writing off a kit.
For detailed guidance on protecting your nails through the manicure process, the manicure care tips article is a good place to continue reading.
What Makes a Gel Polish Safe for Regular Use?
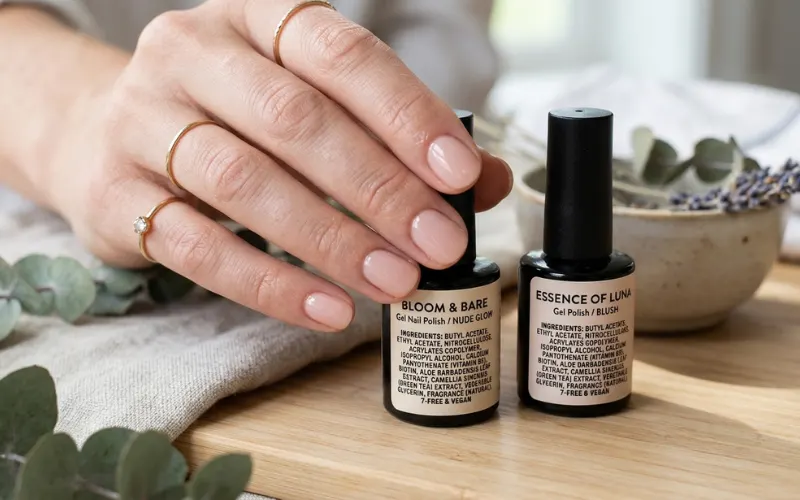
Not all gel nail polish is formulated the same way. These are the key ingredients worth knowing, especially for anyone applying gel polish at home on a regular basis.
Ingredients to look out for:
- HEMA (Hydroxyethyl Methacrylate): One of the most common allergens in gel formulas. Repeated skin contact during application can lead to contact dermatitis over time. Look for HEMA-free formulas if you are using gel polish weekly or fortnightly.
- TPO: A photoinitiator classified as a reproductive toxicant. The EU banned TPO in gel nail products from 1 September 2025. In 2026, check that your polish uses TPO-L or BAPO as alternatives both carry a better safety profile.
- Formaldehyde, toluene, and DBP: Long-standing ingredients to avoid in any nail product. Most established brands are now 10-free or 15-free.
The cleanest options across this review are Manucurist Green Flash (HEMA-free and TPO-free) and Dazzle Dry (no photoinitiators at all). Olive and June is HEMA-free, but individual shade formulas vary, so checking each bottle before purchase is worth the extra minute.
If you are weighing gel against other nail service options, the guide to acrylic nails costs and types covers how gel and acrylic differ in both process and ingredients.
8 Tips for a Longer-Lasting At-Home Gel Manicure
These are the same tips I give to clients at Beauty Lies Truth before they take any at-home gel kit home.
Getting these right makes a bigger difference to wear time than which kit you choose.
- Prep your nails before anything else. Use the alcohol prep wipe in your kit to remove all oil from the nail plate. This is the most commonly skipped step and the most common reason gel lifts early.
- Push back your cuticles properly. Polish that touches the cuticle area will start peeling from that edge within a few days. Push back gently and cleanly before you begin.
- Apply thin, even coats only. Two thin layers always outperform one thick one. Thick gel traps uncured formula underneath, causing bubbles and early peeling.
- Cap the free edge every single time. Drag your brush across the tip of the nail with every layer base coat, colour coats, and top coat. This step alone adds several days of wear.
- Cure each layer fully before moving to the next. Rushing the lamp time leaves uncured gel underneath. If nails still feel tacky after curing, extend the time by another 30 seconds.
- Avoid soaking your nails in water for the first hour. Gel continues to settle after curing. Washing up or bathing too soon can cause early lifting at the edges.
- Apply cuticle oil every day. Hydrated cuticles and nail beds hold polish better and keep nails looking healthy between applications.
- Remove correctly, and never peel. Even peelable systems are designed for gentle removal, not forced stripping. Pulling gel off takes layers of the nail plate with it and weakens nails over time.

I spent the last 7+ years helping people discover what truly works for them in fashion and beauty. After styling clients in boutique fashion houses and testing countless skincare products myself, I learned one simple truth: the best style is the one that makes you feel confident every single day. On my blog, I share the same honest tips I give my friends: simple, practical, and a little inspiring.